| Born out of frustration with my cable Internet provider constantly dropping my connection and a desire to teach myself Python, I developed the Multi Host Availability Grapher (MHAG). I wrote MHAG in Python 3 and it is intended to run on a Raspberry Pi or similar Linux host. FAIR WARNING, this script will send five pings to the top three DNS servers every minute. Below I will describe how to install and configure MHAG on a Raspberry Pi 3 running a fresh install of the latest version of Raspbian Lite (the non-GUI version). I Recommend looking over/following my previous post: Headless Raspberry Pi - Initial Baseline Configuration in order to be sure your installation of Raspbian is consistent with mine. In the examples below my Raspberry Pi's hostname is "mhag". OK, now here's where to find the script: https://github.com/jullrey/MHAG |  |
| SSH to your Raspberry Pi using pi@hostname ("mhag" in my case). Lets update/upgrade the Raspian Operating System before we go any further. sudo apt-get update sudo apt-get upgrade -y The "-y" just answers yes to the default question asking if you are sure you want to install the package. |  |
| Now we will install the apache2 web server package: sudo apt-get install apache2 -y |  |
| Verify that the web server is running by opening your favorite web browser and going to http://hostname (in my example: http://mhag) The Apache2 Debian Default Page or something similar should display in your browser, if it does not, you may have to start the service. Try the following if the default page doesn't display: sudo service apache2 restart |  |
| Install the Python 3 pip package sudo apt-get install python3-pip -y |  |
| Now we will use a python utility to install the pytz timezone library. sudo pip3 install pytz |  |
| Now install the Round Robin Database tool package sudo apt-get install rrdtool -y |  |
| Next we will create some folders in the "pi" user's home directory and in the web servers html directory. cd (takes us to our home directory) mkdir bin mkdir data sudo mkdir /var/www/html/graphs sudo chown pi.pi /var/www/html/graphs |  |
| Using secure copy (scp or pscp if using PuTTY in windows) lets upload the mhag.py script to the bin sub-directory in the pi users's home directory. scp mhag.py pi@mhag:bin/ |  |
| Check the file permissions. cd cd bin ls -la Look for -rwx-r-xr-x in front of the mhag.py file. If it doesn't look right, run the chmod command in the bin directory. chmod +x mhag.py |  |
| Test run the script. ./mhag.py -D /home/pi/data -H /var/www/html/graphs |  |
| Schedule the script to run via cron. crontab -e Select which editor you want to use with cron (I prefer vim, but we'll use nano to make it easier) |  |
| Press Page Down until the cursor is all the way at the bottom of the file, and add the following line: * * * * * bin/mhag.py -D data -H /var/www/html/graphs >bin/mhag.log 2>&1 Now press Ctrl-o and Enter to write the file and then Ctrl-x to exit. |  |
| Use the command command to verify that your entry is correct. crontab -l | 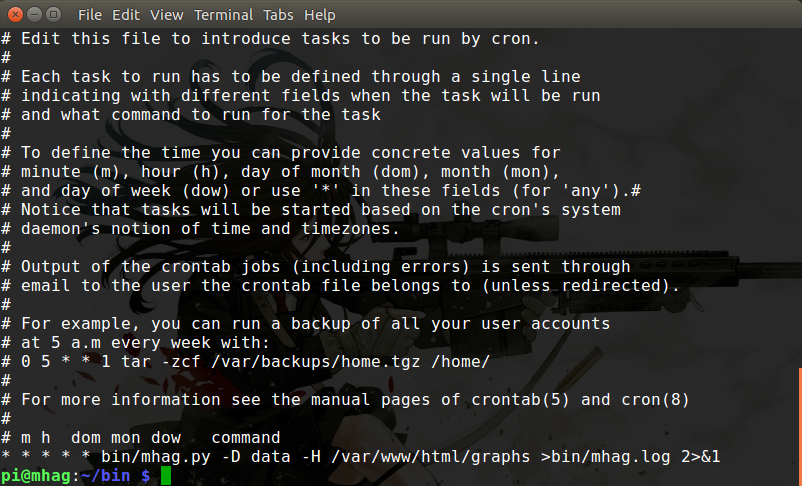 |
| Now bring up the web page. http://hostname/graphs/mhag.html (in my example: http://mhag/graphs/mhag.html) *Note* It will take a few minutes for data to start appearing on the graphs. |  |
| That's it, you should be able to actively monitor your connectivity to the Internet in near real time now. |